
You may recall in our last post on serverless functions that we made use of some tooling introduced by Vercel and Netlify for Ember and Glimmer applications.
These tools provide a seamless development experience for running serverless functions locally on your machine and a straightforward method of deploying those functions alongside our Ember and Glimmer applications to Vercel or Netlify. This allows us to reap much of the same benefits in an Ember and Glimmer application as are offered by API Routes in Next.js applications.
We won’t re-hash all the benefits of adding serverless functions alongside your frontend application, but we will reiterate that we can gain greater developer productivity from using them in your project. They can unblock frontend developers from relying on backend developers to write endpoints for basic API functionality and we can also write our entire backend as a set of serverless functions.
Now, as we demonstrated in our last post on this subject, developing and deploying serverless functions to Vercel or Netlify is a breeze because of the tooling they provide. But, what if your project has constraints that require a deployment directly to AWS without the use of those other platforms?
Thankfully, there’s an answer to that question that isn’t too involved. Today we’ll focus on deploying serverless functions directly to AWS using a framework called SST that makes it trivial to build full-stack serverless apps.
SST generates the serverless functions, provides a way to run them locally, and supplies a method for deploying these functions, along with your frontend code, to AWS.
Generating our SST Project
Before we start you’ll want to ensure you have an AWS account with the AWS CLI configured locally.
By default, if you run npx create-sst <your-app-name>, SST provides a
full-stack application, including an RDS or Dynamo database, and a GraphQL API
as well - among other things. Those offerings are powerful and could be a
solution for your project, but for the sake of simplicity and staying focused on
only adding serverless functions as API Routes for our application, we’ll use a
more stripped-down
SST template to limit
what is installed.
To get started we’ll run npx create-sst@latest --minimal <your-app-name>. This
will generate a new SST project that includes only the minimal set of things
needed to form an SST app with serverless functions. You’ll notice that we are
presented with an option to choose a template:
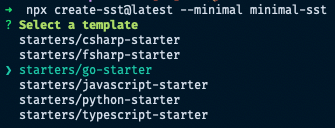
We could choose the javascript-starter template if we wanted to create a
serverless function written in Node.js. However, since we’re presented with the
option, let’s do something different this time and choose go-starter. This
will generate the project for us, but the serverless functions will be written
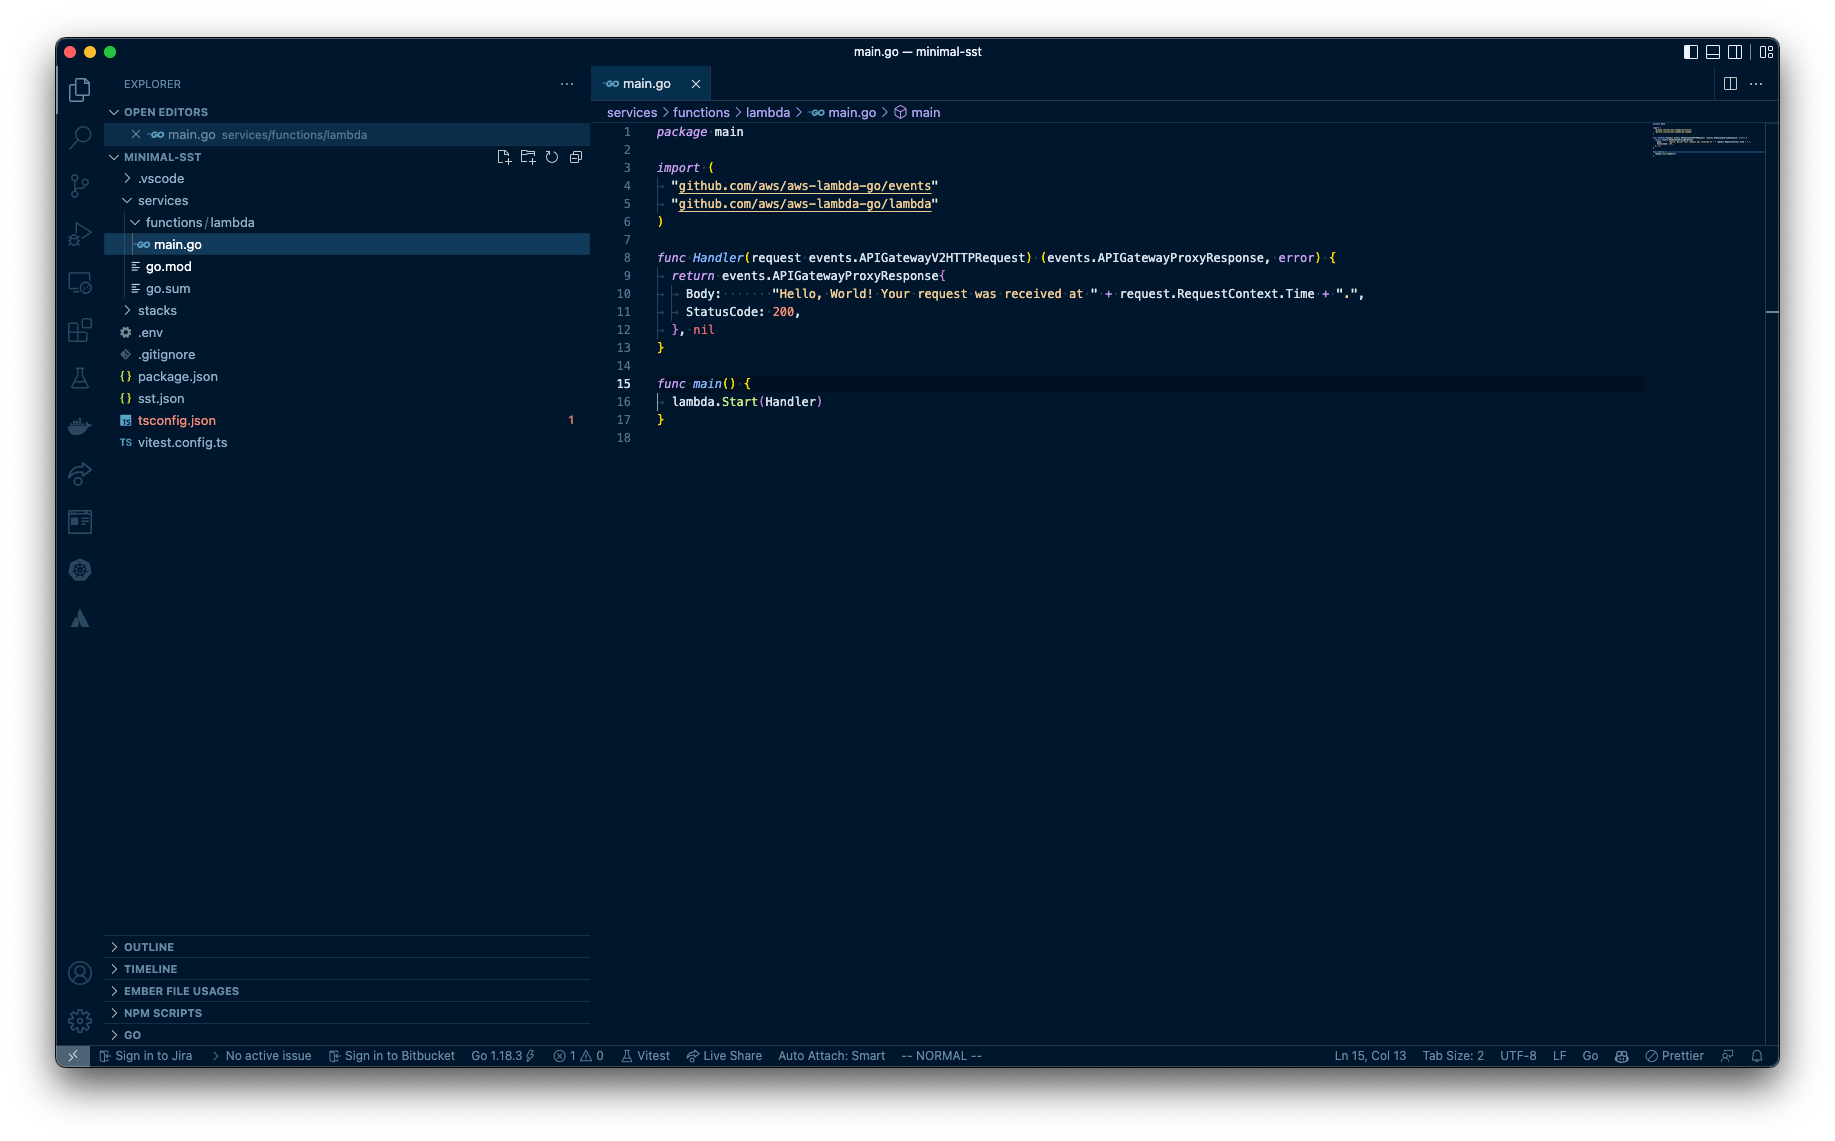
in Go lang instead. Here’s a look at the Go servless function
that’s generated:
Adding in Ember
Now that we have an SST project started, let’s navigate into that project and
generate a new Ember.js application at the SST project root with
npx ember-cli@latest new frontend. We’ll call the new Ember project, frontend,
to keep things generalized and we’ll also note that the frontend code here
doesn’t have to be Ember. There are many examples that you can auto-generate
with the npx create-sst@latest --examples command that will come pre-packaged
with an example frontend repository. Hopefully, one day one of those examples
will include Ember, but for now, there’s a small piece of manual configuration
we need to set in place for things to work.
Connecting the Wires
After generating the frontend application we’ll make some adjustments to the
./stacks/MyStack.ts file. Go ahead and add an import for StaticSite and
let’s also add a new StaticSite that will point to our Ember application:
// we added the StaticSite import here
import { StackContext, Api, StaticSite } from '@serverless-stack/resources';

export function MyStack({ stack }: StackContext) {
  const api = new Api(stack, 'api', {
    routes: {
      'GET /': 'functions/lambda/main.go'
    }
  });

  // we added instantiation of StaticSite for the Ember application here
  const site = new StaticSite(this, 'EmberSite', {
    path: 'frontend',
    buildOutput: 'dist',
    buildCommand: 'npm run build',
    environment: {
      // Pass in the API endpoint to our app
      EMBER_APP_API_URL: api.url
    }
  });

  stack.addOutputs({
    ApiEndpoint: api.url
  });
}
This will tell your SST project about your Ember application, how to build the
Ember code and where to save the build. After this, we should go ahead and run
npm install or yarn in both the SST project root and the Ember project root.
Note, at the time of this writing, we had to use Node 16 and chose the latest
LTS, lts/gallium, but your mileage may vary.
If you now run yarn start or npm start from the SST project root this will
start the SST side of things, which includes creating debug deployments that
help run the serverless function locally. The SST CLI will ask for an
environment name which we’ll provide as dev, but you can call it whatever you
like.
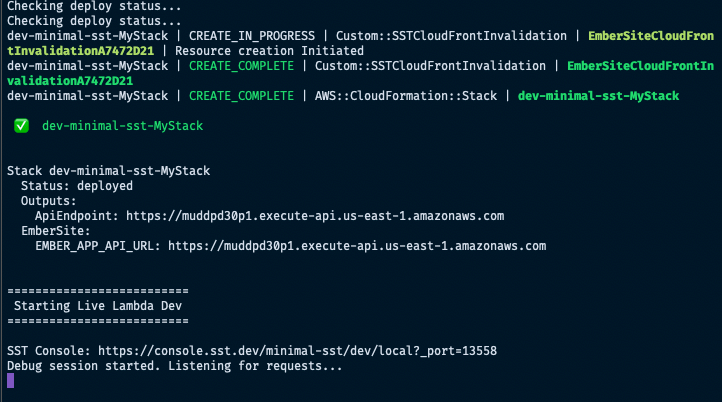
This may take several minutes to complete since SST is conducting an actual
initial deployment (SST uses something they call
live lambda development, which
includes deploying services for your development environment to interact with),
but at the end of the process you should see something like the following which
should include the ApiEndpoint where the serverless function can be reached:
Now before booting our Ember app we’ll probably want to set things up so that
the Ember application communicates with the serverless function. We’ll do that
by generating an application route in the Ember app and sending a fetch request
to the ApiEndpoint URL as a gut check to ensure we can retrieve some data.
We’ll also want to do this using environment variables for both development and
production environments so we can later handle the different ApiEndpoint URLs
that will support the development and deployed production instance of our
application. So we’ll add a .env file with EMBER_APP_API_URL as an
environment variable and set that equal to the ApiEndpoint.
// ./application/route.js
import Route from '@ember/routing/route';
import ENV from 'frontend/config/environment';

export default class ApplicationRoute extends Route {
  async model() {
    const response = await fetch(ENV.APP.EMBER_APP_API_URL);

    const message = await response.json();

    return message;
  }
}
We’ll also modify the ./config/environment.js file to set this environment
variable in the Ember app for use later on:
// .config/environment.js
'use strict';
require('dotenv').config();

module.exports = function (environment) {
  let ENV = {
    modulePrefix: 'frontend',
    environment,
    rootURL: '/',
    locationType: 'history',
    EmberENV: {
      FEATURES: {},
      EXTEND_PROTOTYPES: {
        Date: false
      }
    },

    APP: {}
  };

  if (environment === 'development') {
    ENV.APP.EMBER_APP_API_URL = process.env.EMBER_APP_API_URL_DEV;
  }

  if (environment === 'test') {
    ENV.locationType = 'none';

    // keep test console output quieter
    ENV.APP.LOG_ACTIVE_GENERATION = false;
    ENV.APP.LOG_VIEW_LOOKUPS = false;

    ENV.APP.rootElement = '#ember-testing';
    ENV.APP.autoboot = false;
  }

  if (environment === 'production') {
    ENV.APP.EMBER_APP_API_URL = process.env.EMBER_APP_API_URL_PROD;
  }

  return ENV;
};
And finally, we’ll tweak the serverless function to respond with JSON rather than a string:
// ./services/functions/lambda/main.go
package main
import (
"encoding/json"
"github.com/aws/aws-lambda-go/events"
"github.com/aws/aws-lambda-go/lambda"
)
func Handler(request events.APIGatewayV2HTTPRequest) (events.APIGatewayProxyResponse, error) {
data := map[string]string{"message": "Hello, World!"}
json, err := json.Marshal(data)
return events.APIGatewayProxyResponse{
Body: string(json),
StatusCode: 200,
}, err
}
func main() {
lambda.Start(Handler)
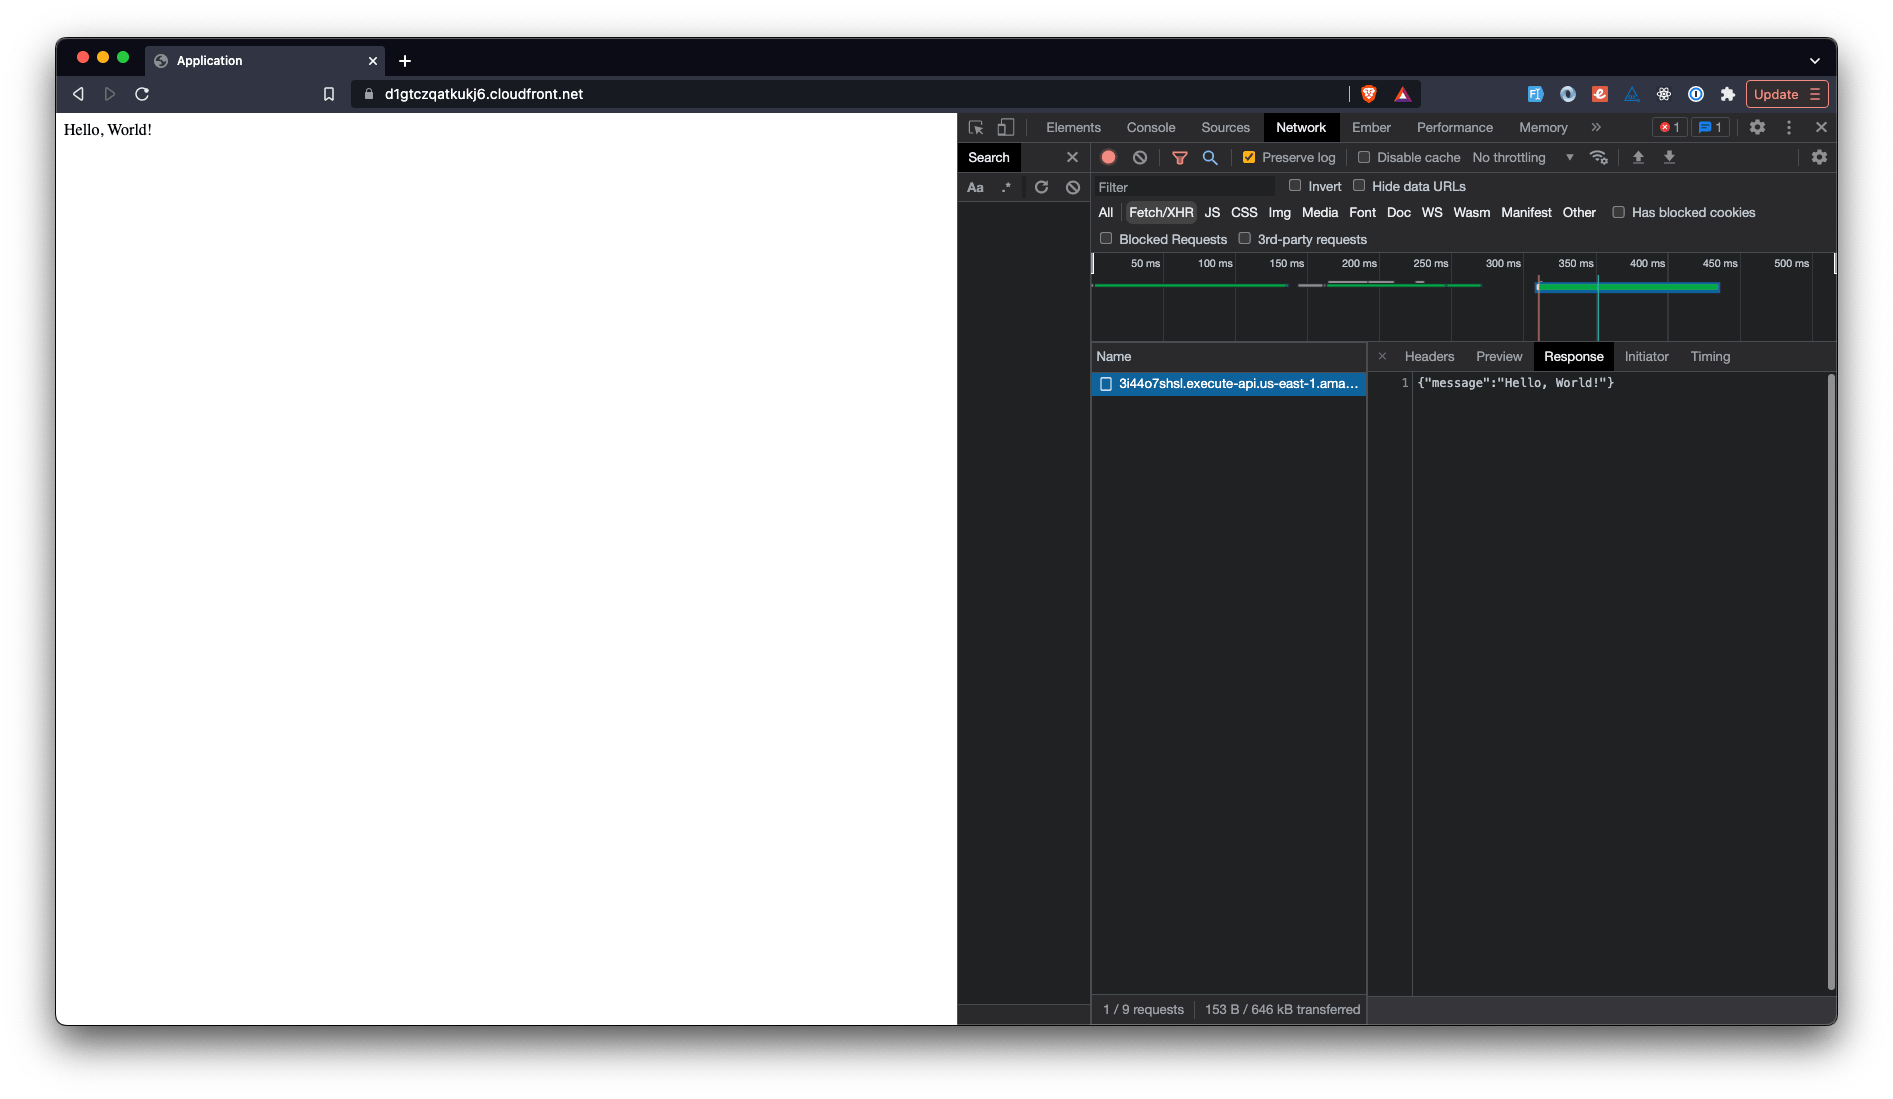
}With all those things we just did wired up you can fire up the Ember app as you normally would and check in the browser that the serverless function is returning the data we expected:

And there is our Ember app with a Go-based serverless function that is deployable to AWS, and we only need to take one more step to deploy it!
Deployment to AWS
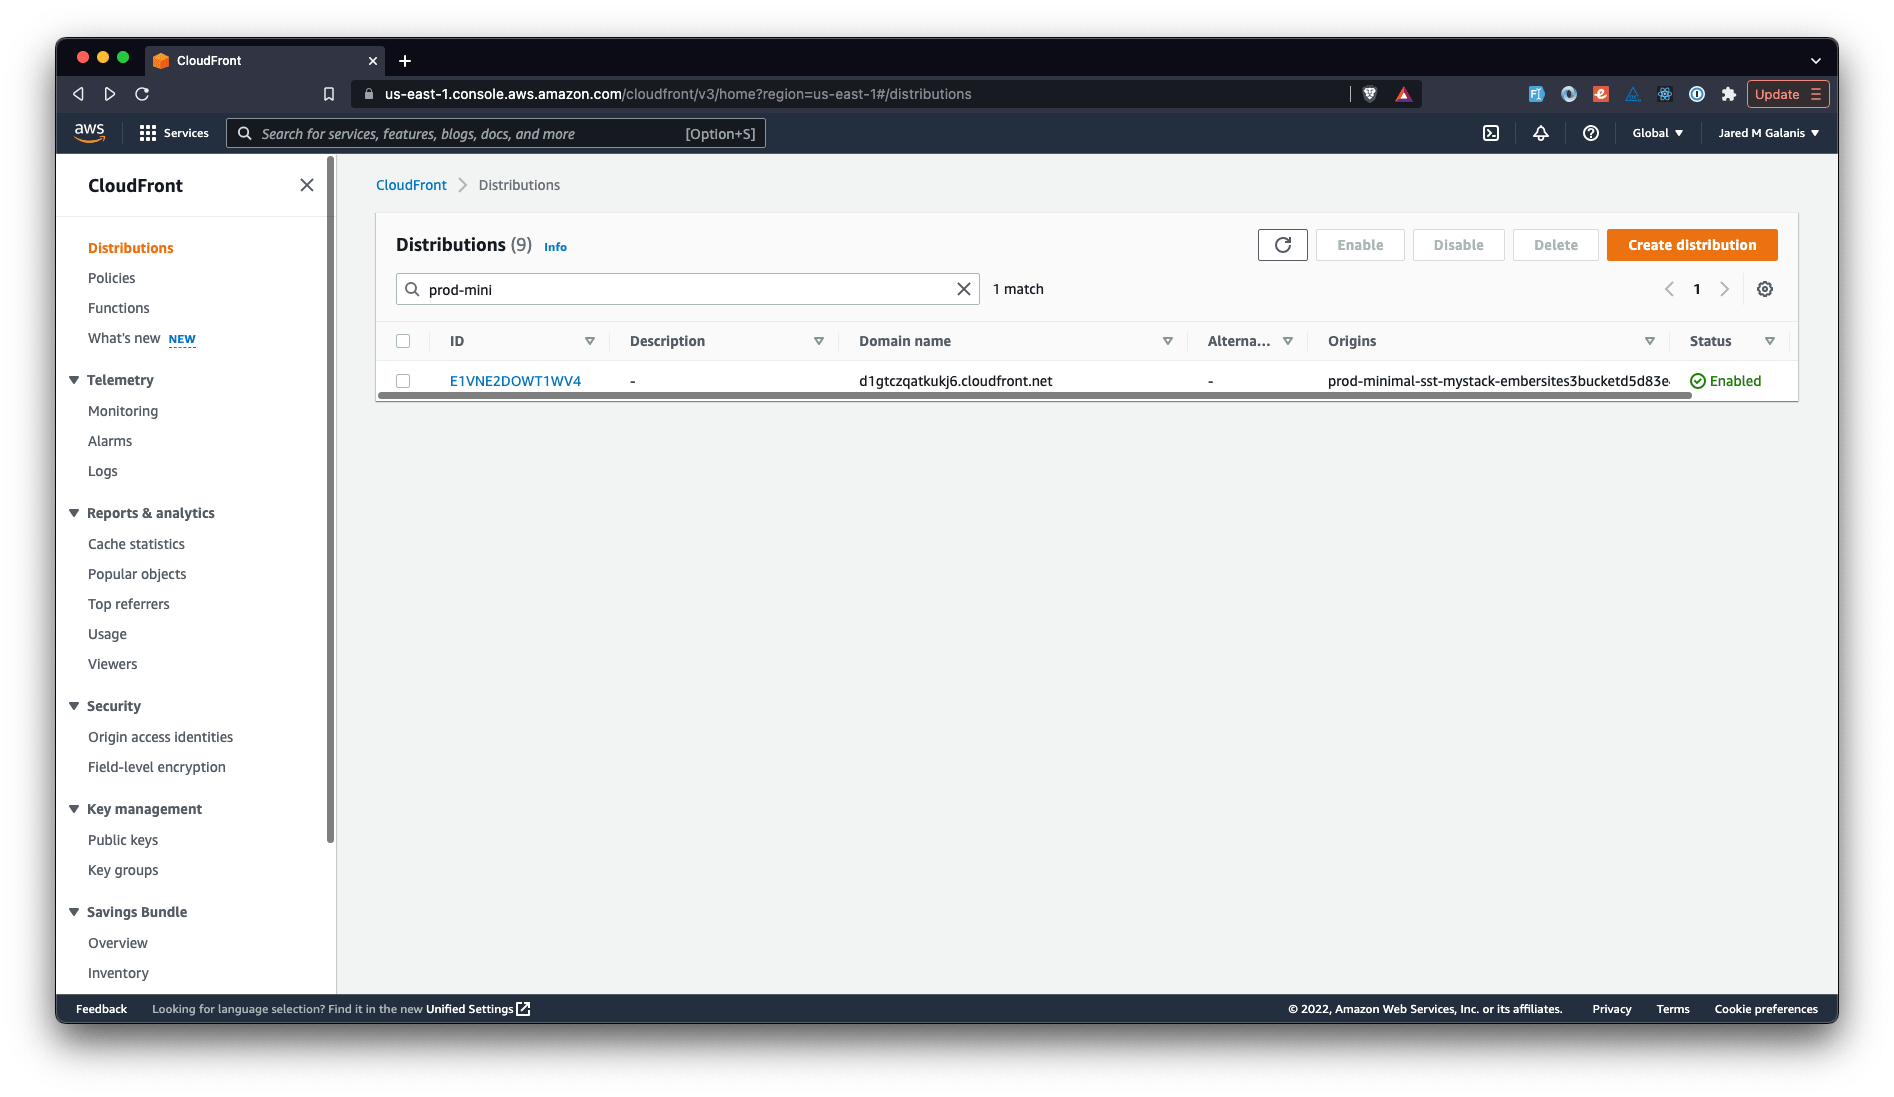
If we run npx sst deploy --stage prod, SST will handle all the details of
deploying the app. Again, this will take several minutes to completely deploy.
Once it’s done we’ll need to set the prod ApiEndpoint URL provided in the
output of the deploy logs as an environment variable in the Ember app and
re-deploy using the same command. Once that deploys you’ve got an Ember app with
a Go lang serverless function deployed to AWS!
and …
Now, this is not the only way you can deploy serverless functions and an Ember application directly to AWS, but it sure is a convenient one.
In future posts on this topic, we might look at alternative means for deployment that require a little more configuration, but which provide more control over the deployment and architecture, so stay tuned!